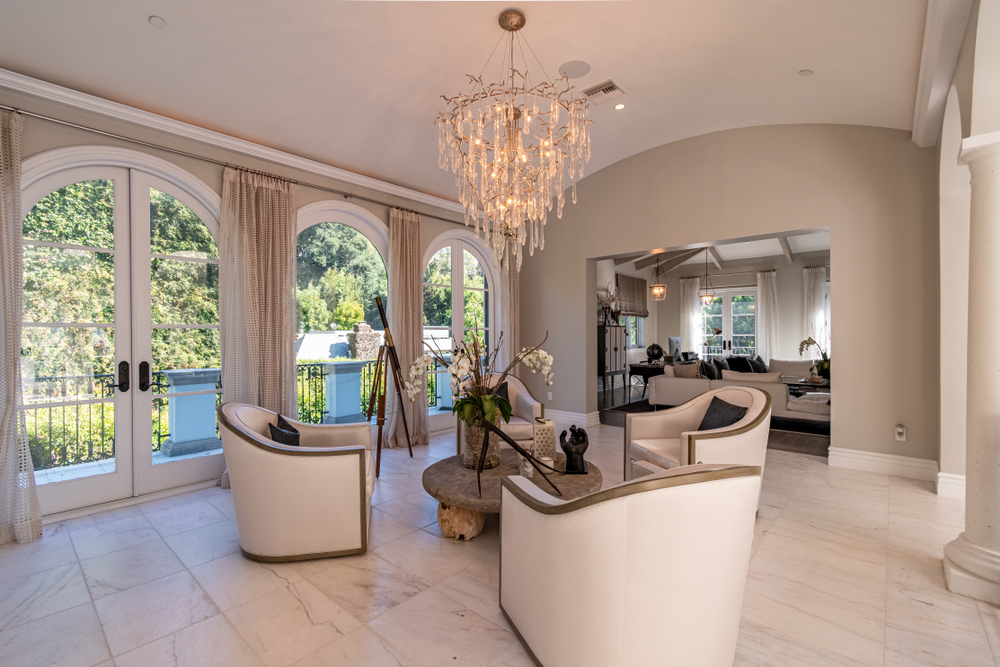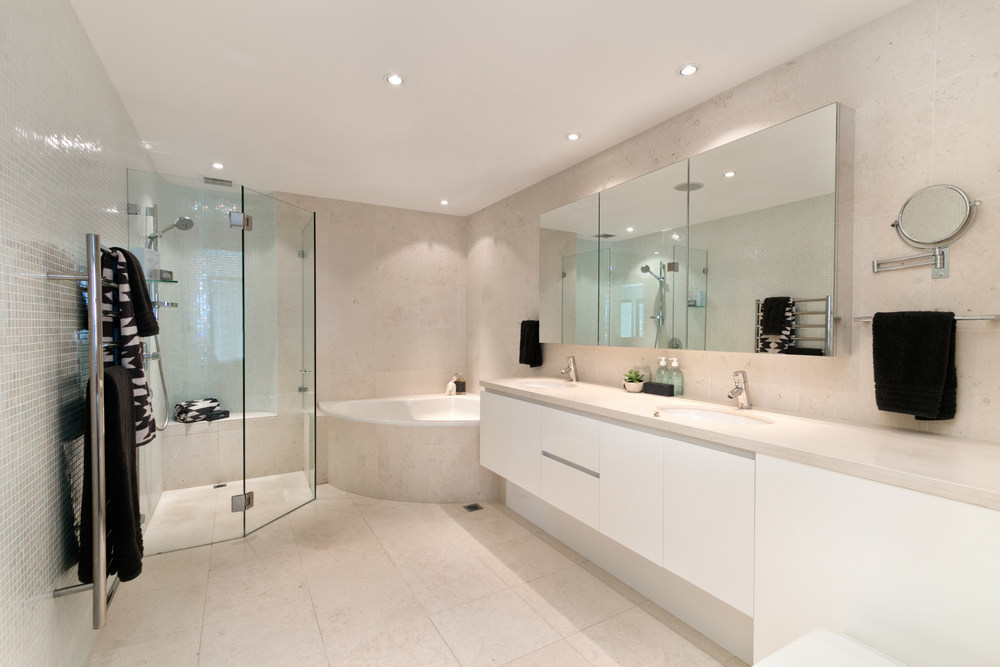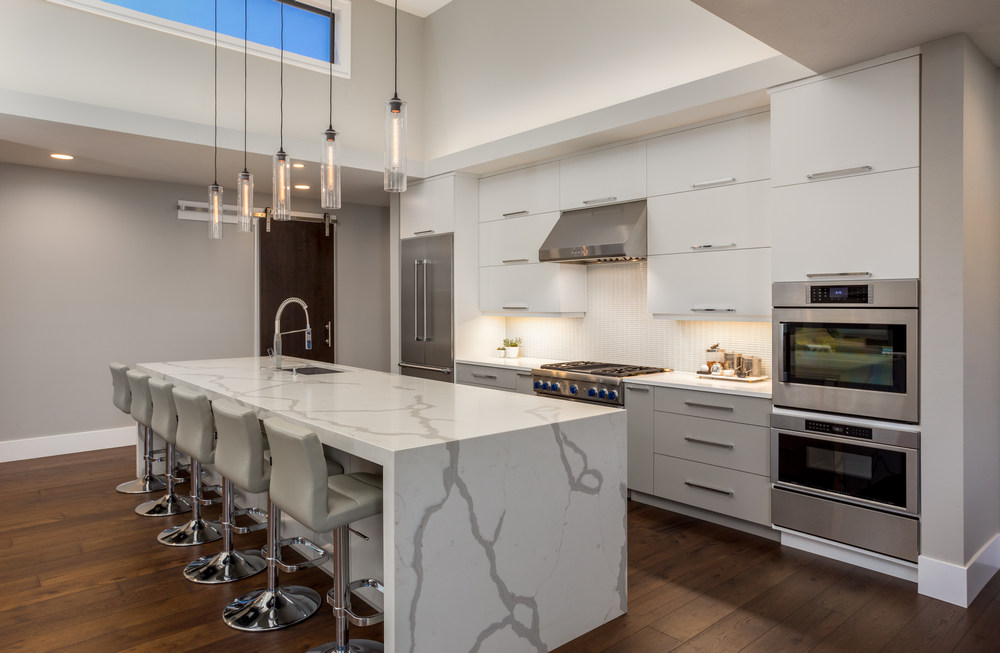
An ADU adds functional living space and caters to diverse needs, from housing extended family to providing independent spaces for work or leisure, thereby elevating the property’s overall appeal and utility.
An Accessory Dwelling Unit (ADU) can be a fantastic addition to your property. Whether for a family member or a potential rental income, ADUs offer flexibility and functionality. They come in various forms, including basement apartments, above-garage units, or stand-alone tiny houses. Building an ADU can be a complex process, but with the right planning and execution, it is achievable. Here’s a step-by-step guide on how to build an ADU for your property and elevate its value.
Step 1: Understand Local Regulations
Before you start sketching your ADU plans, make sure you understand the local regulations. The zoning laws, building codes, and permitting processes can vary widely from one municipality to another. Research your local jurisdiction’s requirements or consult a reliable contractor to ensure compliance.
Step 2: Determine Your Budget
Outline your budget, including construction costs, permits, utility connections, and any other additional costs. Be realistic, and always account for unexpected expenses.
Step 3: Choose the Type of ADU
Determine what kind of ADU you want to build, whether it’s a detached unit, garage conversion, or something else. This decision will significantly influence the design, cost, and construction process.
Step 4: Design Your ADU
Work with a design team or use design software to create a blueprint that matches your needs, aesthetic preferences, and local building codes.
Step 5: Obtain Necessary Permits
File the required applications with your local building department. This step may involve submitting your plans, inspecting your site, and paying fees. The permitting process can be time-consuming, so start early.
Step 6: Hire a Contractor
Find a licensed and insured contractor who has experience building ADUs. Finding a contractor to help design your ADU and obtain the necessary permits to start building is also helpful. Finding a reliable contractor, like YNK Construction, to help with all aspects of your ADU project ensures the process goes smoothly and is completed satisfactorily.
Step 7: Start Construction
With the permits and contractors in place, you can break ground. Construction involves several phases, including:
- Site preparation
- Foundation laying
- Framing
- Installing utilities (electrical, plumbing, HVAC)
- Roofing and exterior work
- Interior finishing
Regularly communicate with your contractors and make site visits to ensure the project stays on track.
Step 8: Final Inspections
Once construction is complete, arrange for the final inspections as required by your local jurisdiction. These may include safety, electrical, plumbing, and other specialized inspections.
Step 9: Landscaping
Don’t forget the surrounding area. Landscaping adds to the aesthetic appeal and can help your ADU blend with the main property.
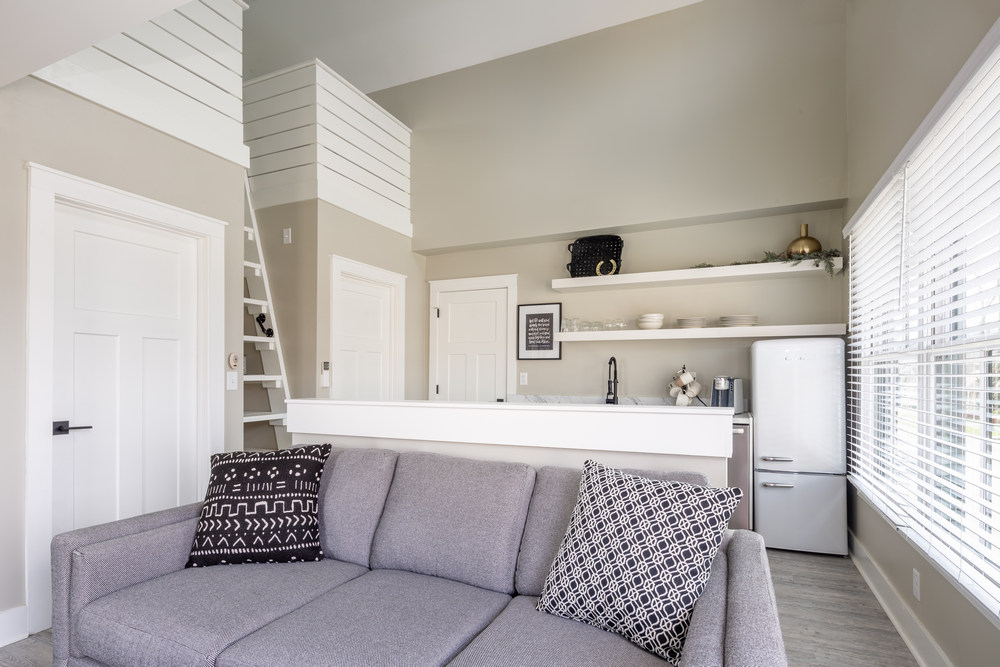
Step 10: Furnish and Decorate
Add the final touches to make the space livable. Include appliances, furniture, paint, and other decorative elements that give the space a homely touch.
Begin Working on Your ADU with YNK Construction
Building an ADU is a substantial project that requires careful planning, adherence to local laws, and quality construction. Following this guide can create a functional and attractive ADU that adds value to your property. YNK Construction can ensure a smooth ADU process from start to finish. We’ll help you expand your home while taking care of the permits and work so you can sit back as we create something magical for you. Call us at (619) 552-2923 or click here to schedule an appointment today!
Fill Out The Contact Form
Get Started Today, and one of our team members will contact you. We can’t wait for you to become part of our growing family.